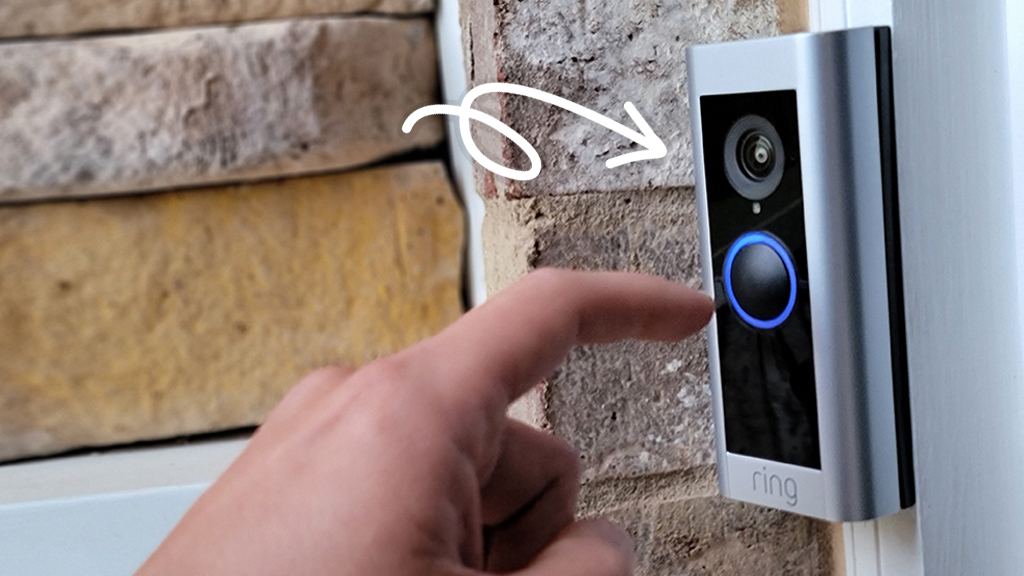
Transform your front door into the ultimate security checkpoint with this straightforward guide on how to install a Ring Doorbell. Not only does it add an extra layer of protection to your home, but a smart doorbell also offers convenience and peace of mind. Let’s dive into the installation process tailored for homeowners and DIY enthusiasts keen on enhancing their home security setup.
Prerequisites
Before jumping into the installation process, make sure you have all the necessary tools and equipment. These include:
- A drill with a 3/8″ bit
- A level
- Appropriate screwdriver (Phillips head or flathead)
- An internet-connected smartphone or tablet
- The Ring Doorbell package, which should come with a mounting bracket, security screws, anchors, and a micro-USB charging cable
Introduction
In the world of smart homes, Ring doorbells stand out for their convenient security features, such as real-time video feeds, motion detection alerts, and two-way audio communication. Installing a Ring doorbell by yourself can be a simple task that brings numerous benefits, including keeping an eye on your home, deterring potential intruders, and even boosting your property value. So, let’s get started!
Pre-Installation Preparation
Before you begin, make sure you have all the necessary tools and equipment on hand. You’ll need a power drill, a level, a screwdriver, and potentially some wire strippers if you’re planning on hard-wiring your device. It’s essential to check the compatibility of your existing doorbell wiring — Ring doorbells usually require a certain voltage to operate correctly.
Step 1: Mounting the Doorbell
Choosing the Right Location
Selecting the optimal spot is crucial. It should give a clear view of your entrance area without obstructions. Aim to mount it at about chest height so visitors face it directly.
Marking the Mounting Holes
Once you’ve got the perfect spot, hold the mounting bracket against the wall, using the level to ensure it’s straight. Mark the positions of the mounting holes carefully.
Attaching the Mounting Bracket
Drill pilot holes where you’ve marked, and then screw the mounting bracket in place securely. Make sure it doesn’t wobble, as this will affect the performance of your doorbell.
Step 2: Wiring and Power
Connecting the Doorbell to Existing Wiring
If you’re hard-wiring your Ring doorbell, connect the wires to the screws on the back of the doorbell — it doesn’t matter which wire goes where. Ensure that the connections are tight.
Troubleshooting Common Wiring Issues
Be alert for common problems such as insufficient power supply — a transformer with the appropriate voltage is necessary. If the internal chime doesn’t ring, it could be an issue of compatibility. Ensure that all wire connections are secure. Use a voltmeter to confirm that current is flowing as expected.
Power Options for Wireless Installations
If you opt for a wireless setup, simply insert the charged battery into your Ring doorbell, and you’re ready to move on.
Step 3: Connecting to Wi-Fi
Downloading the Ring App
The next step is to download the Ring app on your smartphone and create an account if you don’t already have one.
Setting Up a Ring Account
Follow the in-app instructions to set up your account. You’ll need to enter some basic information and verify your email address.
Connecting the Doorbell to the Home Wi-Fi Network
The app will guide you through connecting your doorbell to your Wi-Fi network. Be close to your router to ensure a strong connection.
Step 4: Customising Settings
Once your Ring doorbell is mounted, wired, and connected to Wi-Fi, you can personalise the settings through the app.
Adjusting Motion Detection Sensitivity
Customise the sensitivity of the motion detection to avoid false alerts, or focus on specific areas in front of your door.
Setting Up Notifications and Alerts
Choose how you receive alerts and notifications when your Ring doorbell detects activity or when someone rings it.
Enabling Additional Features
Explore the app to enable useful features such as two-way audio for speaking with visitors, or opt into video recording plans for added security.
Congratulations! You have successfully installed a Ring doorbell and are now ready to enjoy its features. With this addition to your home, you can rest assured that your front entrance is secure and monitored at all times. Be sure to regularly check the app for any updates or new features that may be available. Thank you for choosing Ring for your home security needs.
Happy protecting! While this guide covers the basic installation process for a Ring Doorbell, there are additional features and settings that you can explore. These include customising motion detection zones, setting up advanced video recording plans, and integrating your Ring doorbell with other smart home devices.
Additionally, be sure to regularly check for firmware updates through the app to ensure your doorbell is always running smoothly. With a Ring doorbell, you can have peace of mind knowing that your front entrance is secure and monitored at all times, whether you’re home or away. Thank you for choosing Ring for your home security needs.
Happy protecting! So, keep exploring and utilising the various features and settings available to make sure your home is as secure as possible. Stay safe and enjoy the convenience of a smart home with Ring doorbells. If you have any questions or need further assistance, the Ring support team is always available to help. Thank you again for choosing Ring, and here’s to a safer and smarter home!
Conclusion
You are now the proud installer of a fully functioning, potentially thief-thwarting Ring doorbell! This guide aimed at making the installation process as seamless and understandable as possible. Remember, a properly installed doorbell ensures optimal performance and reliability. Take a moment to recap the setup and finalize any adjustments for the perfect smart home security setup.
Keep in mind that any troubleshooting tips provided, such as checking transformer requirements or resolving app issues, are here to assist with common hiccups during the installation process.
Congratulations on enhancing your home’s safety and smart features!
